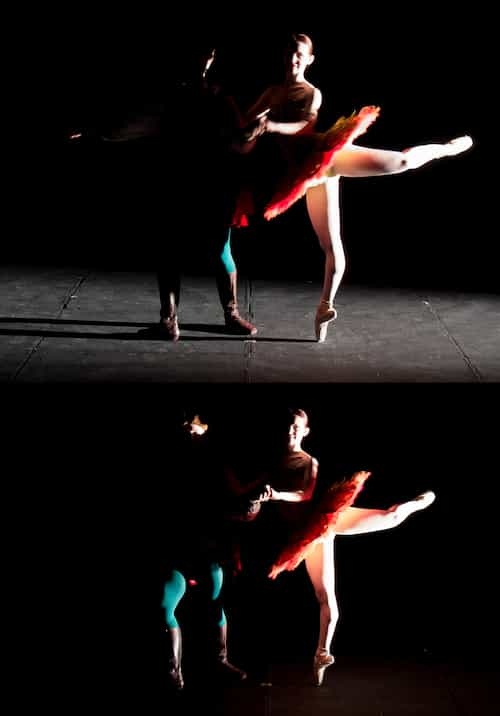
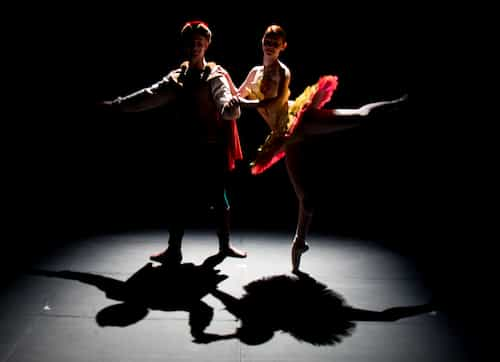
- Notice how the high side throws a shadow of one leg onto the other leg, whereas the shin-buster easily lights underneath the legs.
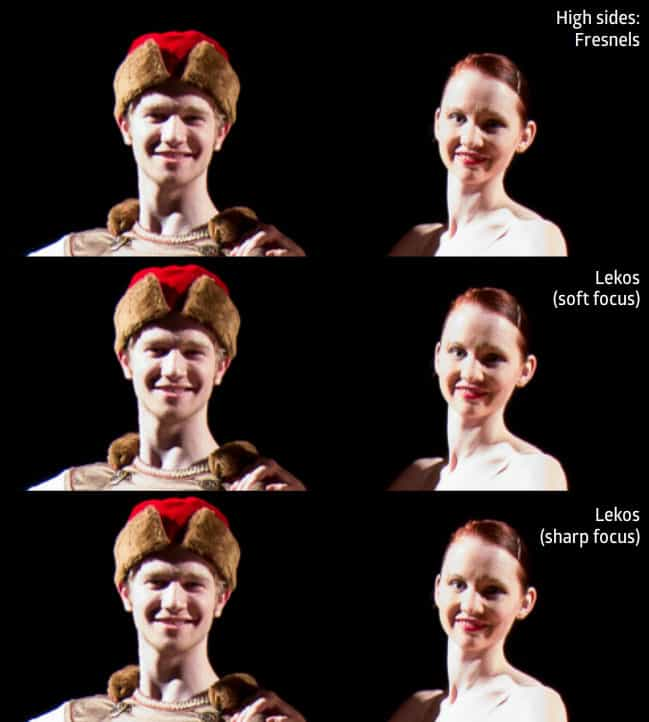
- Does the soft focus of the high side (bottom) make them appear more relaxed?
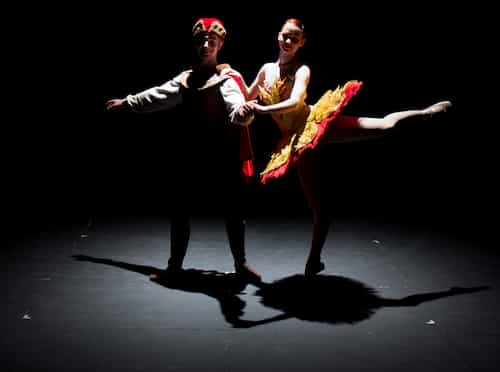
- These are very similar set-ups; except that the positions for each source are coming from opposite direction, and one high side is focused sharply.
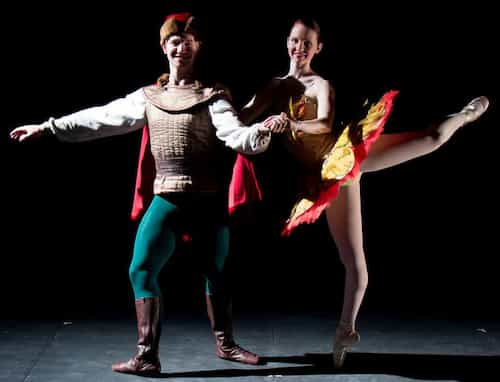
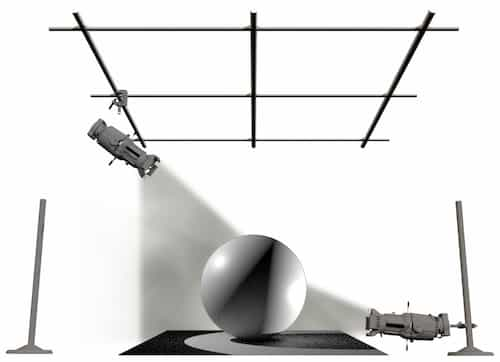
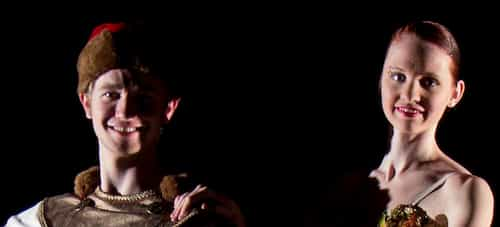
| Right: Notice the awkward shadow on her face, cast by his face - and the fact that the high side isn't hitting that side of her. | |
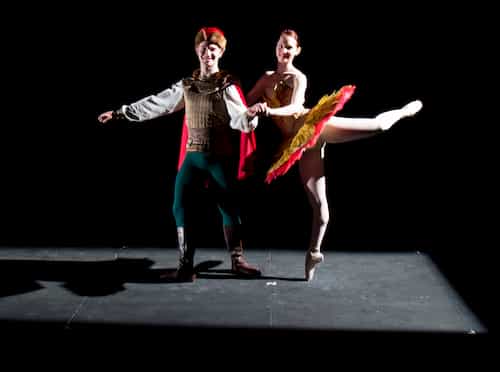
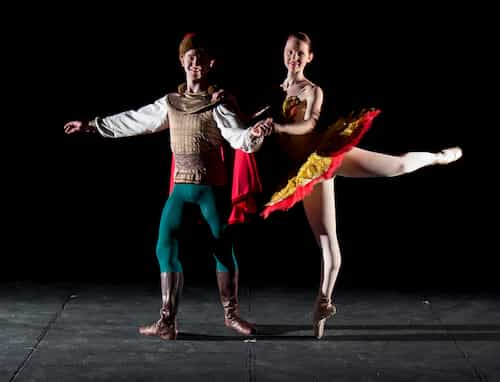
| Left: Here the shinbuster helps emphasize the line of her legs. | |
| Right: The line of her right leg is interrupted by the shadow from her left leg. | |
| When only using side lights, the face (and body) get a shadow line down the center. We'll look at the more closely in a few moments.
This may be easier to see with these larger images. This page is more mobile-friendly. | |


| ParNel downlight | Fresnel downlight | Leko downlight soft focus | Leko downlight sharp focus |
Pairs of side-lights create an unnatural shadow line down the center.

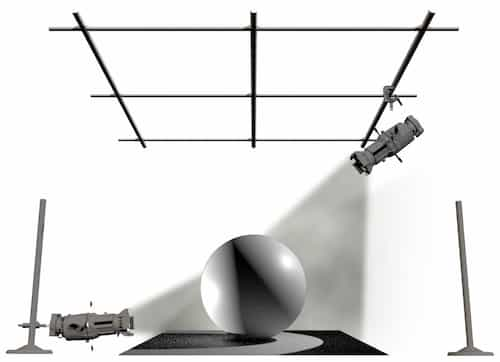
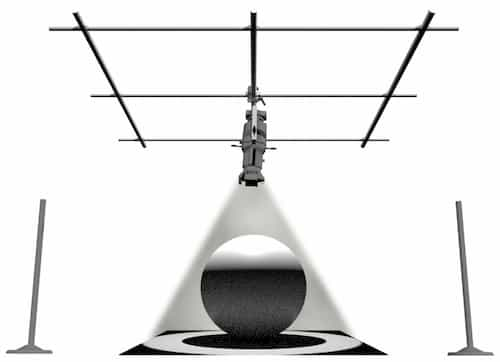
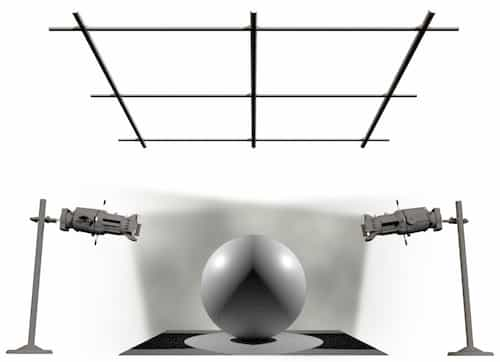
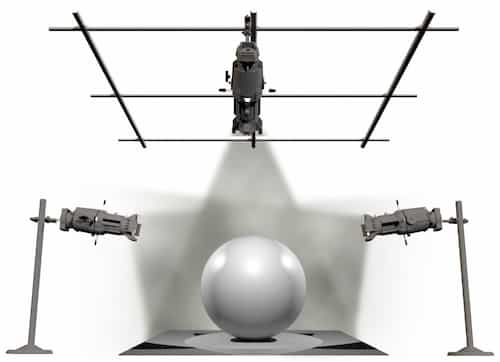
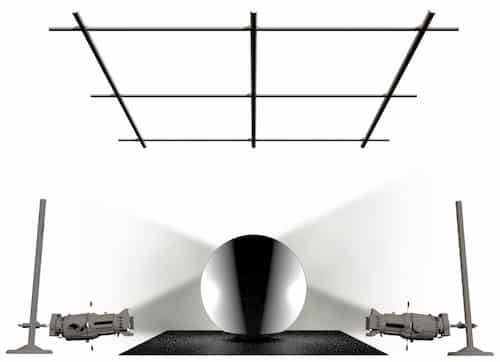
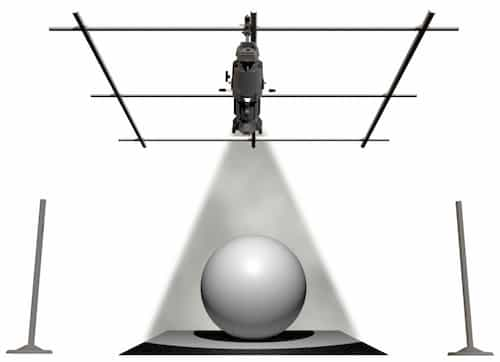
Leko "head-high" side lights. Head-highs and "mids" hit the floor as well as our characters. The positions are typically shuttered upstage and downstage to not bleed / light beyond the masking or scenery beyond their main range (therefore lekos are typically used here).
These lower sides lights, roughly 5’ above the stage, are fairly “inexpensive” because they can wash across the entire width of the stage.
Here we’ve staggered our models (she’s moved upstage only about 9”), a move which has helped eliminate most of the shadows caused by our head-high side lights.
During performances, dancers, and, to a lesser extent, theatrical characters, are usually moving a great deal so they move in and out of each others’ shadows caused by head-high side lights..
Click and slide the blue slider to compare two images:
Left: High sides, dancers in line. Right: Same lights, dancers staggered 9 inches.
View larger.
|
To help reduce the shadow line down the center of characters created by the use of side lights, front lights are often used. These front lights also fill in much of the shadows created from the multitude of characters on stage.
Here, we’ve added a straight-on front light at full. It helps a great deal with visibility but is also flattening out our dancers.
Here we’ve taken the intensity of the front light to half which does a nice job of eliminating most of the harsh shadows created by the side lights but doesn’t make our dancers completely flat.
Reducing the intensity even further would allow us to find a more perfect balance for whatever the specific need calls for.
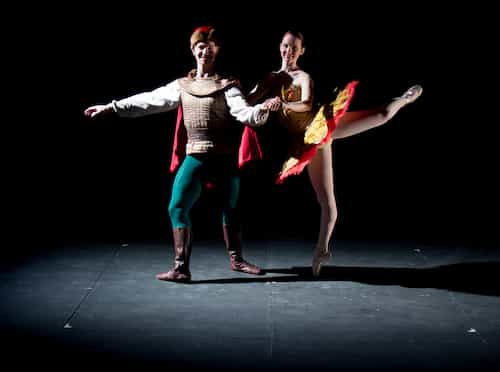
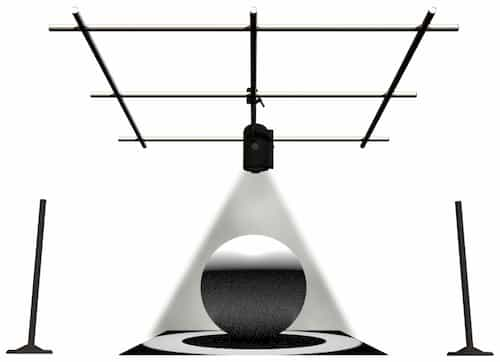
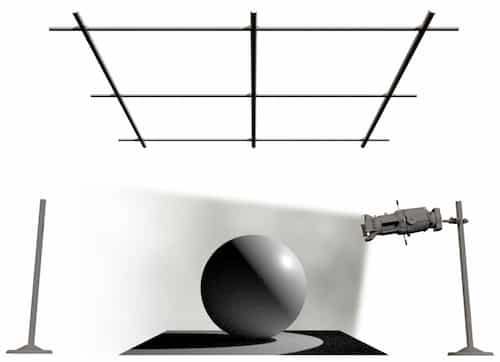
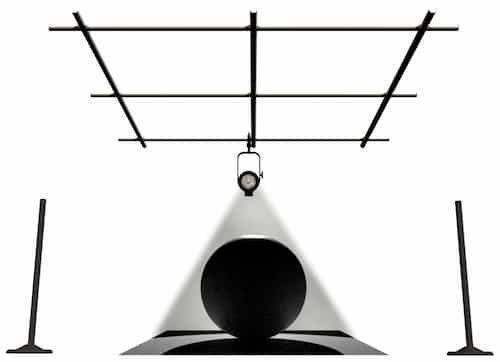
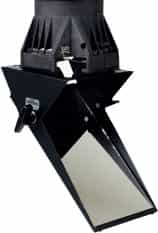 Shin-busters are sharply focused lekos which are shuttered to cut just above the stage floor, so they don’t bleed on the floor – making characters appear to be “floating” in air.
 There are accessories available, like this “beam bender” by City Theatrical which are mirrors that fit into a leko’s gel holder which allows the light to get ultimately closer to the floor.
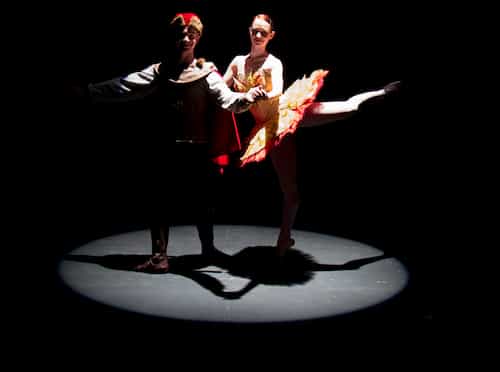
Naturally, sidelights do not have to be used in pairs.
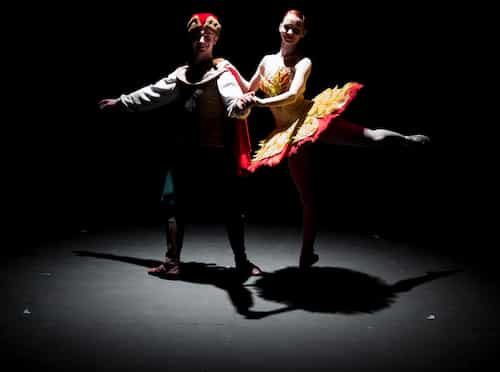
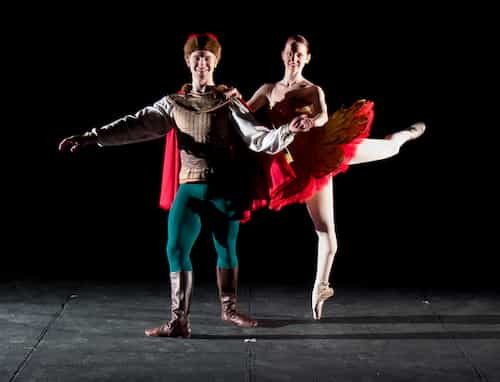
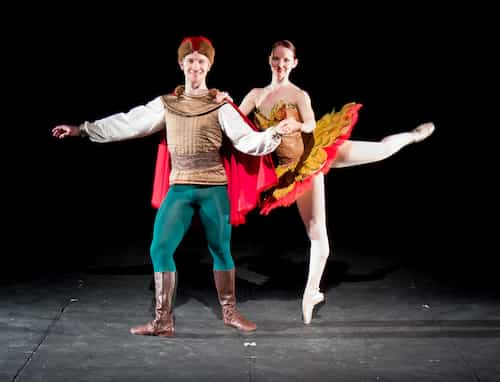
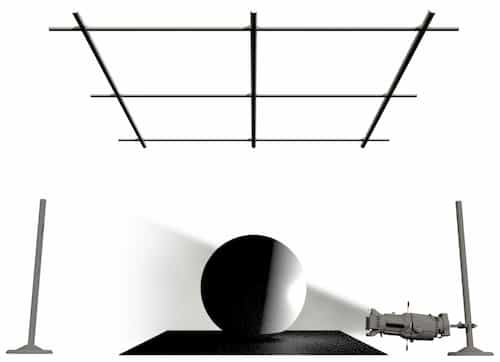
Here we can see the difference between a single “head-high” above and “shin-buster” below from the same side of the stage.
One main difference: shin-busters are focused so they don't light the floor.
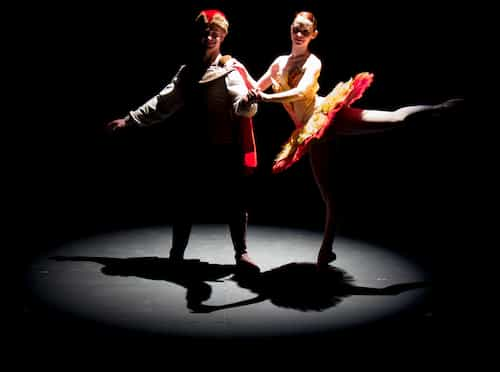
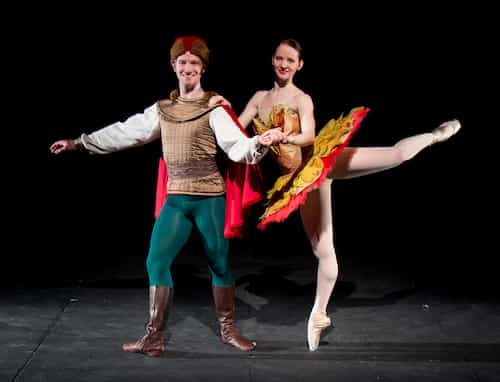
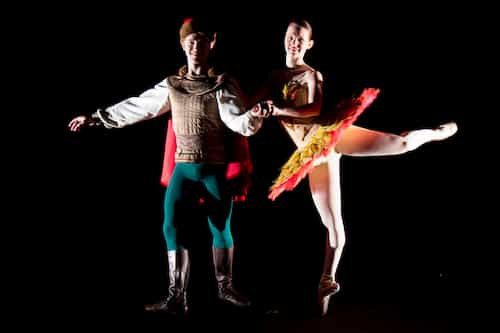
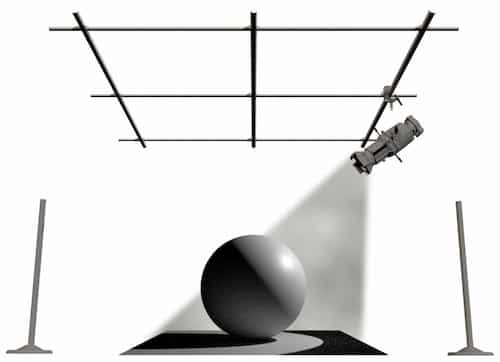
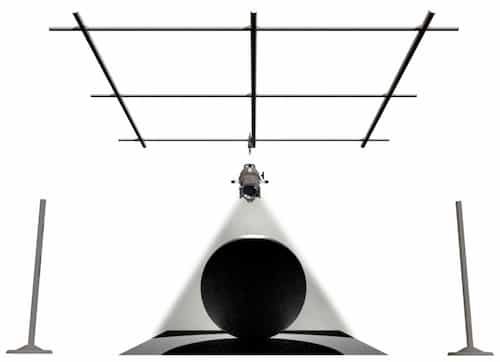
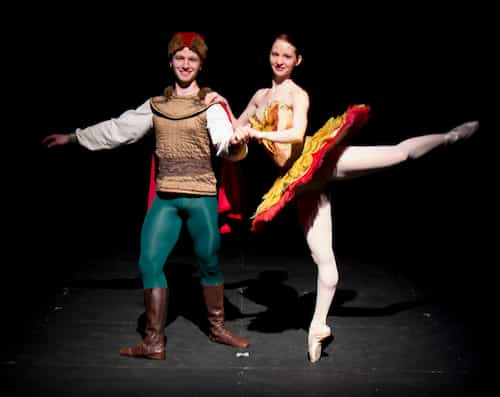
To conclude this comparison: a high side from the same side of the stage.
Notice how the higher angle reduces the amount of shadow she throws on him, especially on his face. But it does add a shadow onto her right leg which is absent when the designer uses the lower source light.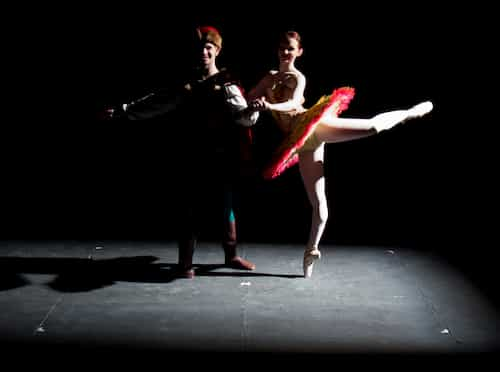
Backlights help separate characters from their backgrounds by adding highlights around heads and their shoulders, but don’t appear to do much for their standing legs.

Backlight lekos are very similar; perhaps giving a slightly sharper look to the shadows (even though the focus on this unit is “soft”). Fresnels (and ParNels) are frequent choices for backlight washes because of their ability to smoothly blend together when focused, unless, of course, shutters are required to avoid scenic elements.
Front (straight on) light improves visibility considerably. However, our dancers have been flattened out. Notice how her straight leg looks as if it is a cartoon cut-out, and the only thing saving his legs from looking the same is that the material is adding some shiny highlight/depth. Materials (fabric, paint quality) do reflect light differently, factors which we lighting designers need to consider when making our choices!
Lekos (ellipsoidal reflector spotlights) are the most commonly used instruments for front light due to their flexible control and shutters. More on that in the segment on instrumentation.
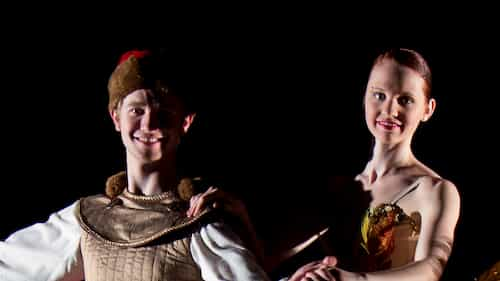
Lighting design by Kade Mendelowitz